If you’re planning to work, start a business, or simply comply with financial or legal requirements in the Philippines, one essential document you’ll need is a Taxpayer Identification Number (TIN). Whether you’re a fresh graduate, a freelancer, or transitioning to formal employment, securing a TIN is a must.
This guide will walk you through how to apply for your personal TIN, what documents you need, and the important reminders to avoid delays or complications.
What is a TIN and Why Do You Need One?
A Taxpayer Identification Number is a unique identifier issued by the Bureau of Internal Revenue (BIR) to individuals and businesses for tax purposes. It’s used when filing taxes, opening bank accounts, processing government documents, or applying for jobs.
Note: Every individual is only allowed one (1) TIN in their lifetime. Having more than one is a criminal offense.
Who Needs to Secure a TIN?
- First-time job seekers (fresh grads)
- Self-employed individuals and freelancers
- Professionals (doctors, lawyers, consultants, etc.)
- Investors or business owners
- Foreign nationals earning income in the Philippines
Step-by-Step Guide to Getting a TIN in the Philippines
1. Determine Your Category
| Category | BIR Form to Use |
|---|---|
| Employed (first-time job seekers) | BIR Form 1902 |
| Self-employed or with business | BIR Form 1901 |
| Mixed-income earners (employee + freelancer) | BIR Form 1901 |
| Foreign nationals earning income in PH | BIR Form 1902 or 1901, depending on employment type |
| With existing TIN but no physical card | BIR Form 1905 |
2. Prepare the Required Documents
Basic documents may include:
- Valid government-issued ID (passport for foreigners)
- Birth certificate (if needed)
- Marriage certificate (if applicable)
- Contract of employment or job offer letter
- Business permit or DTI/SEC registration (for business owners)
3. Submit at the Correct BIR RDO
- Proceed to the Revenue District Office (RDO) that has jurisdiction over your residence or business address.
- You must file in person unless your employer does it for you.
4. Receive Your TIN
- If your application is complete and valid, the BIR will issue your TIN on the same day or within a few days.
- Ask for your TIN ID, which is usually printed on paper. Note that this is not valid as a government-issued ID for other purposes unless laminated or upgraded to a digitized TIN card (if available).
Can You Get a TIN Online?
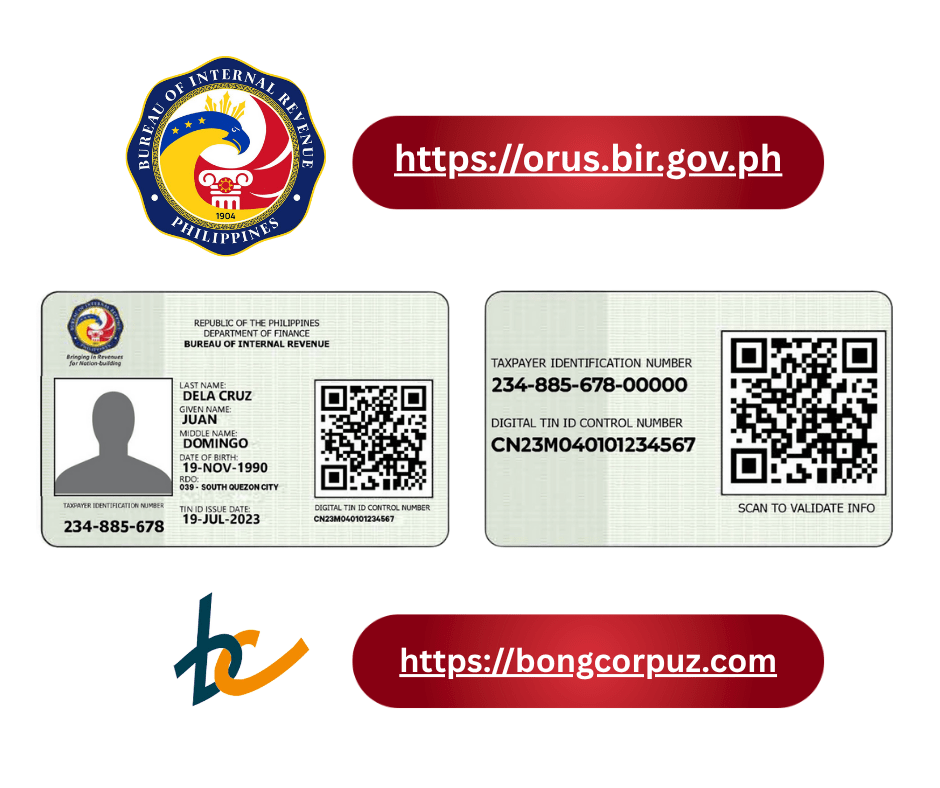
Yes, the Bureau of Internal Revenue (BIR) has launched the Digital Taxpayer Identification Number (TIN) ID feature in the Online Registration and Update System (ORUS) starting November 21, 2023.
No more lining up at the RDO for a physical TIN card! Individual taxpayers can now secure their Digital TIN ID online.
Step 1 — Log in to your ORUS account
Create or log in at https://www.orus.bir.gov.ph/
Use the email address registered with the BIR.
If your email address is outdated:
- Submit BIR Form S1905 via email to your Revenue District Office (RDO), or
- Use the BIR’s Taxpayer Registration Related Application (TRRA) Portal under the eServices section of http://www.bir.gov.ph.
- No physical visit is required.
Step 2 — View your Digital Step
Once logged in to ORUS, click “View your Digital TIN ID” under the Get your Digital TIN ID menu.
Step 3 — Upload Your Photo
Click the ADD PHOTO button in your ORUS account and follow these specifications:
Size: 1×1 photo ID, white background, no border, taken within the last 6 months to reflect your current appearance.
Appearance: Face the camera directly, both ears visible, neutral expression or smile without showing teeth.
Important Reminders
Photos that don’t meet these requirements won’t be accepted as valid Digital TIN IDs.
Do NOT upload unrelated images (e.g., animals, artists, cartoons, other people) — this may lead to penalties.
Step 4 — Verify Your Information
Check if all your displayed personal details in ORUS are correct and updated before finalizing your Digital TIN ID.
Step 5 — Generate Your Digital TIN ID
Click “Generate Digital TIN ID” if all your displayed information in ORUS is correct and updated.
Once generated, you can access it anytime by clicking “View your Digital TIN ID” in the navigation menu.
Important Reminders
You can only generate a new or updated Digital TIN ID every 30 days from your last generation date.
Your Digital TIN ID can be downloaded anytime by clicking the “Download Digital TIN ID” button in ORUS.
Need Help With Tax or BIR Compliance?
If you’re unsure where to begin or need assistance with business registration, tax compliance, or BIR document processing, our firm is here to help.
Message us today for a consultation and let’s get your tax profile properly set up from day one.

Leave a comment